In today’s competitive e-commerce world, creating urgency is a proven way to increase conversions during flash sales and limited-time promotions. A countdown timer bar is a visual element on your Shopify store that shows visitors exactly how much time remains on a special offer. In this guide, we’ll explore why countdown bars work, the different methods to implement them, and best practices to maximize their impact.
Why Use a Countdown Timer Bar?
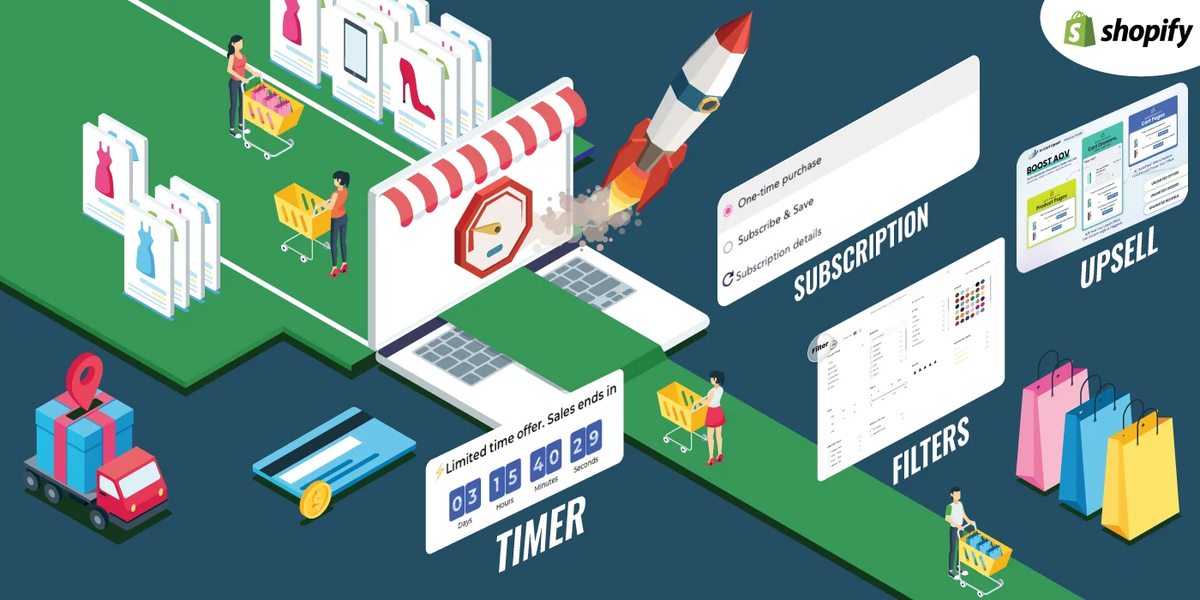
Countdown timers create urgency and encourage customers to act quickly so they don’t miss a deal. Psychological triggers such as scarcity and fear of missing out (FOMO) are powerful motivators in online shopping. By displaying a clear countdown, you can boost engagement, increase average order value, and shorten the decision-making process.
Option 1: Use a Shopify App
The easiest way to add a countdown bar is through a Shopify app. Apps handle the coding and customization for you, making them ideal for merchants who want a quick and flexible solution.
Popular Countdown Apps
- Hextom: Countdown Timer Bar
- Features: Customizable countdown bars, one-time or recurring timers, page-specific targeting.
- Benefit: No coding required; integrates directly with Shopify themes.
- Countdown Timer by POWr
- Features: Custom text, buttons, recurring timers, theme styling options.
- Benefit: Can be added to any page or product to drive urgency effectively.
Installation Steps:
- Log in to Shopify admin → Apps → Visit Shopify App Store.
- Search for “countdown timer” and select an app.
- Install the app and configure your promotion’s start/end time.
- Customize the style and position the timer bar on your storefront.
Apps are ideal if you want flexibility and minimal development work.
Option 2: Add a Custom Countdown Bar Section
If you prefer full control or want to avoid third-party apps, you can create a custom countdown bar using Liquid, CSS, and JavaScript.
High-Level Steps
- Go to Shopify Admin → Online Store → Themes → Edit Code.
- Create a new section file (e.g.,
countdown-bar.liquid). - Add Liquid markup for the timer and link it to your promotion’s end date.
- Style the bar with CSS (colors, font, layout).
- Add JavaScript to calculate remaining time and update the display in real time.
- Use the Theme Editor to place the countdown bar in your header or announcement area.
This approach is perfect for developers or stores that want a lightweight, fully customized timer.
Option 3: Use Theme-Built Countdown Features
Some Shopify themes include built-in countdown timer functionality. You can enable these timers without apps or custom code.
- Example: Theme Editor → Product Page → Countdown Timer
- Features: Enable timer, choose style, set expiration logic, sometimes tag products to trigger the timer.
Using built-in theme features is the simplest method if your theme supports it.
Best Practices for Countdown Bars
- Be Honest and Transparent
Ensure your timers reflect actual promotion deadlines. Misleading urgency can violate Shopify’s policies and consumer protection laws. - Pair with Clear CTAs
Include action-driven text like “Shop Now Before Offer Expires!” to reinforce urgency. - Design for Visibility
Make your timer visually distinct while matching your brand style. Avoid low-contrast or cluttered timers. - Optimize for Mobile
Many shoppers browse on mobile devices. Make sure the timer remains legible and visually appealing across all screen sizes.
Conclusion
A limited-time promotion countdown bar is a high-impact way to drive urgency and boost conversions on your Shopify store. Whether you use a Shopify app, built-in theme features, or custom code, there are solutions for every skill level. Combine urgency visuals with clear messaging and strong calls-to-action to make your promotions more effective and increase customer engagement.